

How To Clean Bissell Crosswave Brush
I had no idea how much pilus was on our floors until we got our beginning Roomba. Elimination our Roomba's bin for the first fourth dimension, my family looked on in slack-jawed amazement as I pulled out fistfulls of pilus, and that was only from virtually half of our apartment.
The thing well-nigh all that hair is that it doesn't just become into the Roomba'southward dust bin. A surprising corporeality of hair gets wrapped around your Roomba's various brushes, and if y'all want to avoid permanent damage to your new robotic friend, you'll need to curl upwards your sleeves and pull the hair off.
The bad news about cleaning the pilus off your Roomba's brushes is that yous'll need to exercise it regularly. Roomba recommends cleaning a Roomba's brushes once a week, or even twice a week if you have hairy pets. I admit that I don't quite keep to that schedule; instead, I average more similar once a month, although we tend to only run our Roomba on a weekly basis. In any outcome, you'll want to make cleaning your Roomba'southward brushes a habit.
The skilful news is that cleaning your Roomba's brushes isn't too much of a hassle, peculiarly if you lot do information technology regularly. With my Roomba 675, I can get the job done in less than x minutes. Likewise, remember that yous're not going for perfection, but rather getting the most egregious clumps of pilus out of the mode.
I'll describe the cleaning process for the Roomba 675, i of the most pop Roomba models. If you have a different model, you can find detailed instructions on the iRobot support site, but the post-obit steps will still give you lot the gist.
Opening the brush guard
The first step is to put your Roomba upside-down on a apartment surface, preferably on a towel (which gets tossed in the hamper immediately afterwards the cleaning) or something else soft.
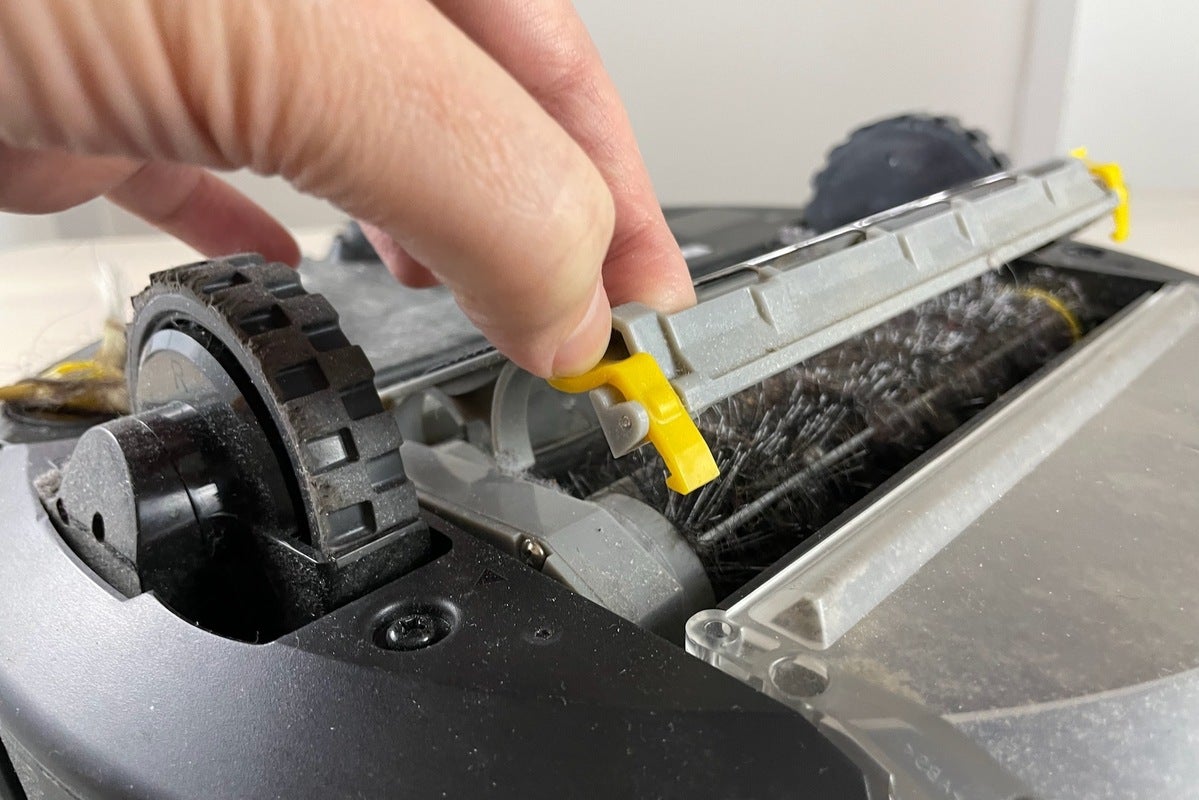
Merely pull on the yellow latch to release your Roomba's brush guard.
You should now run across a couple of thin cylindrical brushes, ane with bristles and a second with long rubber flaps. Keeping these brushes in place is a baby-sit that you lot'll need to remove; just pull back on the two yellow levers to open up the guard.
Related: Learn how to make clean your Roomba's bin the right way
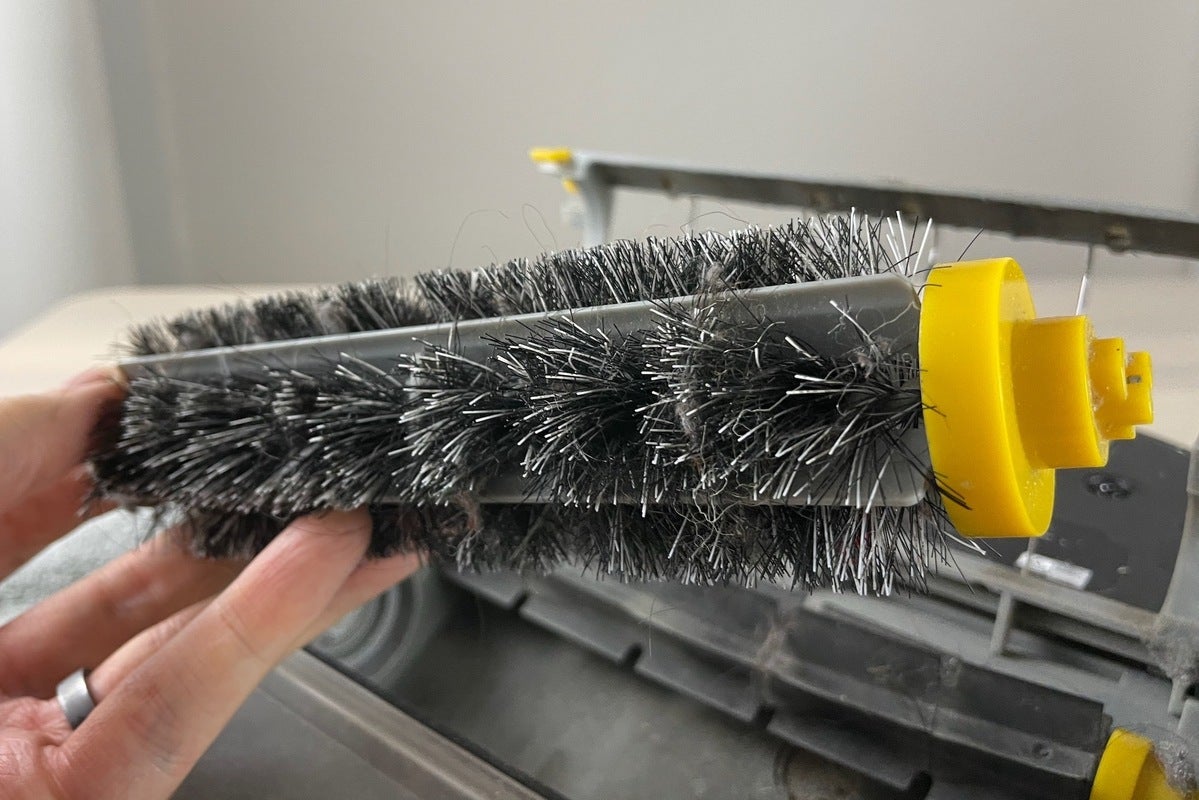
Remove the brushes
Looking more closely at the brushes, yous'll encounter that each has a yellowish plastic begetting at each end. If you pull each brush up gently from the bearing cease, they should come right out.
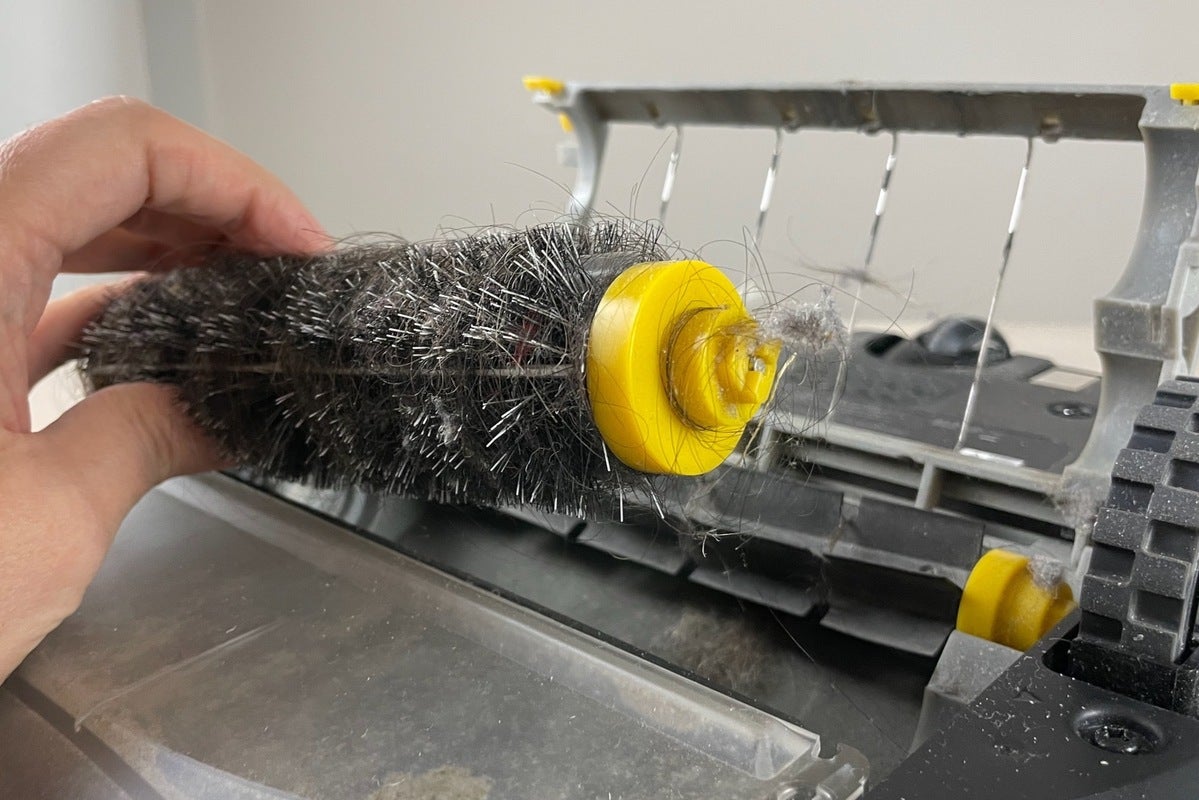
Once yous pull the brushes out of your Roomba, you'll run into all the hair that's wrapped around the bristles and the plastic gasket. Time to beginning yanking!
On the other finish of the brush is a grayness, non-removable cap with a square-shaped peg that fits into a matching receptacle in the brush compartment; when you replace the brush, you'll want to fit the cap into the receptacle before snapping the bearing terminate back in place.
Pull all the hair off
Now comes the fun office (and yep, your hands are well-nigh to get dirty). Starting with the bristle brush, remove the plastic bearing, and so pull off any hair that'due south go wrapped around the bearing itself or tucked inside the bearing. The hair should come off pretty hands.

Besides on the brush itself, yous'll notice hair wrapped both around and inside the yellow gasket.
The aforementioned can't exist said for the actual bristles; become ready to spend quality time yanking and pulling the pilus out. Remember, you lot don't have to clean off every concluding strand; the idea here is to remove the worst clumps. Rinse and repeat (not literally!) for the second brush, which—despite its lack of bristles—will all the same take a fair amount of hair wrapped around information technology.
If you lot even so have the piddling hair cleaning tool that came with your Roomba, past all means, use information technology. The tool looks similar a thick ruby ring with sharp plastic teeth inside (exist careful, those teeth can actually poke your fingers).
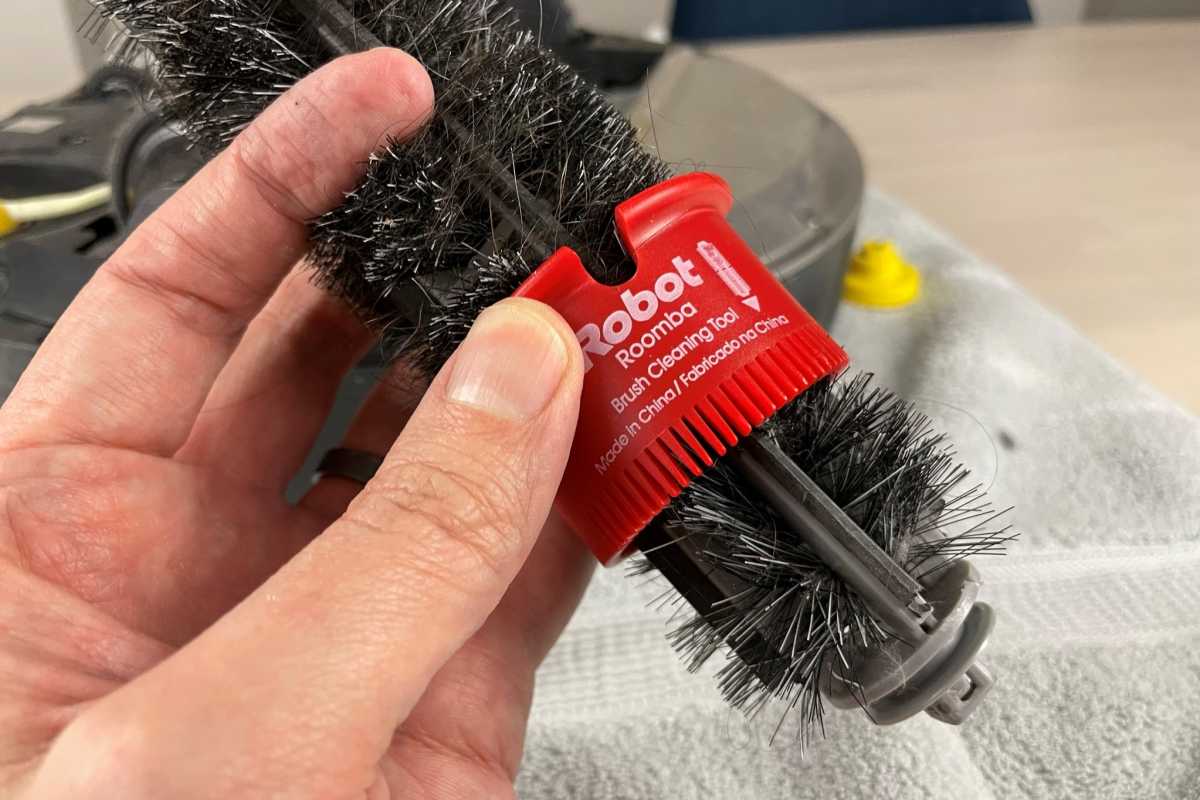
Still have this trivial cleaning tool that came with your Roomba? Use information technology.
Ben Patterson/IDG
Simply pull the Roomba brush through the ring, and so marvel every bit the tool admittedly tears through the hair on the brush. Merely a unmarried pass of the tool tin can yank an amazing amount of hair.
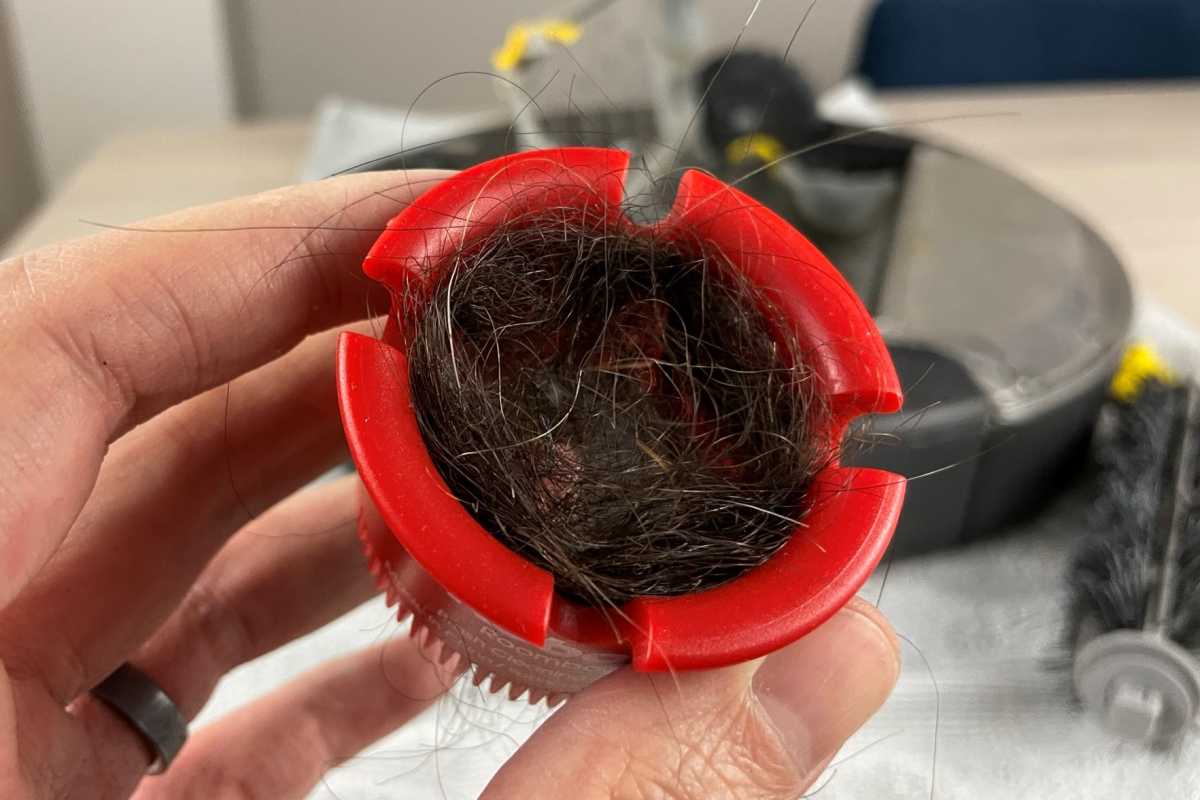
This is how much hair came off my Roomba's castor after a single pass with the tool.
Ben Patterson/IDG
All washed (or done plenty, anyway)? Replace the brushes in the compartment (remember about fitting the gray ends in first) and snap the brush guard back into identify.
Non perfect, only good enough.
If you have the time and inclination, you might also desire to gently wipe down the Roomba'due south brush compartment, which can get clumsily dusty over fourth dimension. Any material should exercise, although I got good results from using a dry Swiffer clothRemove non-product link.
Remove and clean the side castor
You're not quite done withal. Next, it'south fourth dimension to de-pilus the side brush, that spindly-looking, tri-castor component that sweeps up hard-to-accomplish dust, dirt, and debris. Besides being yellowish, it'll be easy to spot, given that it's probably got a agglomeration of hair wrapped effectually information technology.
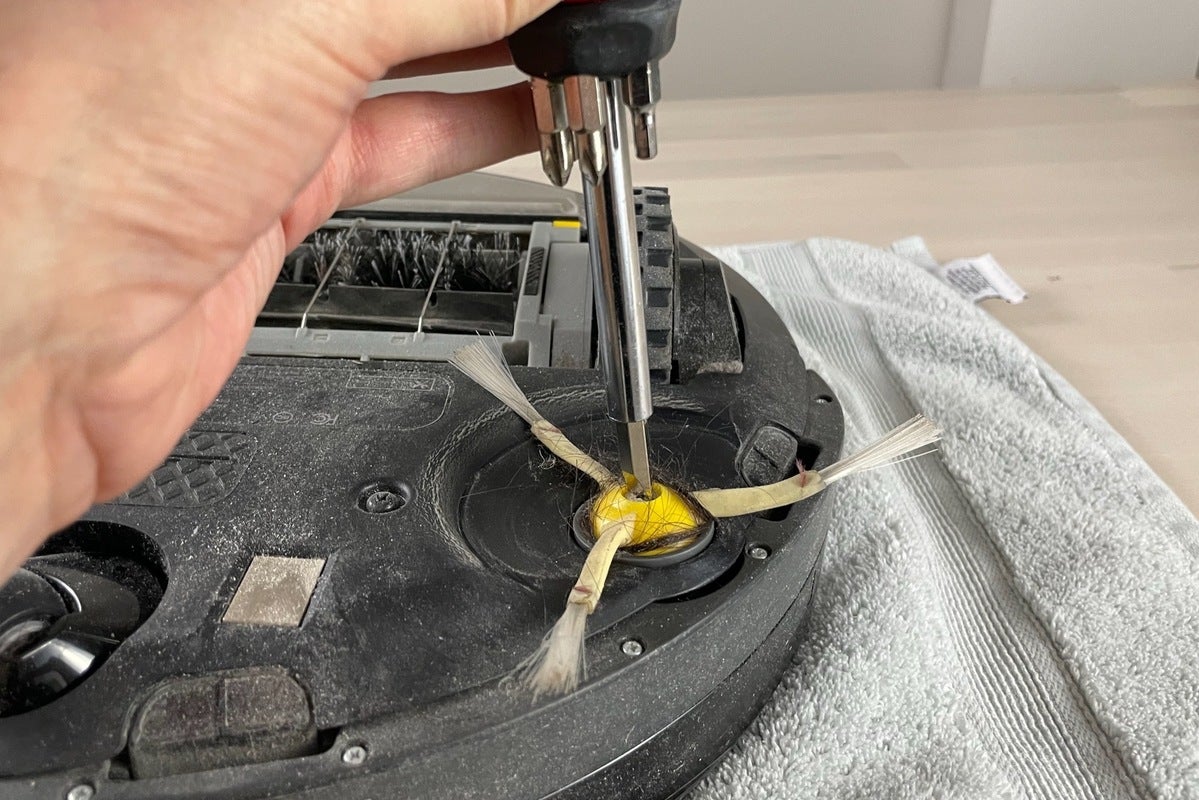
You can remove the Roomba's side brush with a regular or Phillips-caput screwdriver.
Yous tin employ a regular or Phillips-head screwdriver to unscrew the side castor from the primary Roomba chassis; once you lot remove the screw, just pull the side brush straight out.
Related: How to make clean a Roomba'due south charging contacts and cliff sensors
At present, getting the hair unwrapped from the side brush tin can be a fleck of a chore. I've had the most success using a pair of scissors to snip the tightly wound hair, which should then be adequately like shooting fish in a barrel to pull abroad.
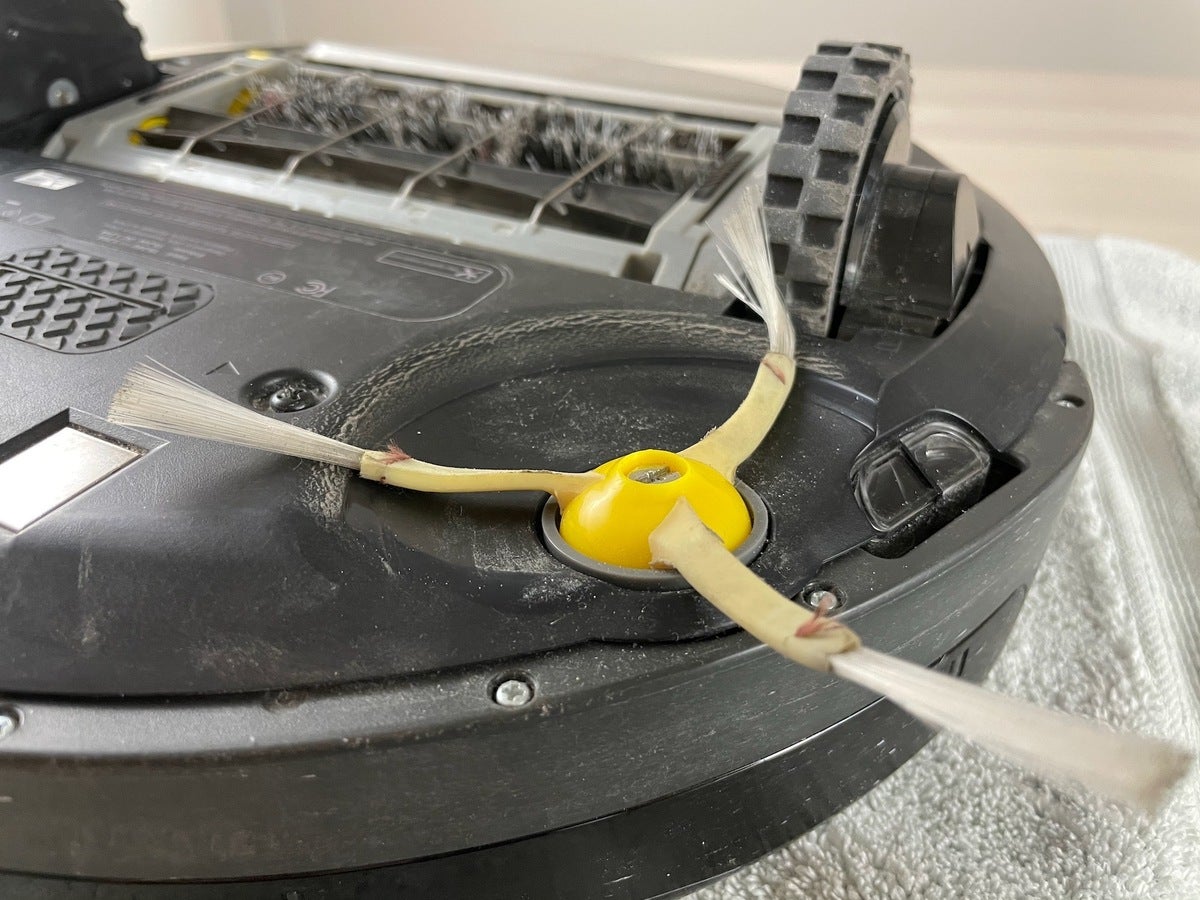
No more hair, or at least non until the next cleaning.
Once you lot're done yanking the hair off the side brush, become ahead and spiral it dorsum onto the main Roomba unit.
Replacing your Roomba brushes
Besides regularly cleaning the brushes on your Roomba, you'll as well demand to supersede them from fourth dimension to fourth dimension.
iRobot recommends replacing the two chief brushes every half dozen to twelve months. While iRobot doesn't offer a recommended timeline for replacing the delicate side brush, swapping in a new ane every six months to a year; I had to replace mine early subsequently it was damaged during a cleaning.
Follow this linkRemove non-product link to shop for replacement Roomba brushes on Amazon.
Cleaning the remainder of your Roomba
The hairy brushes aren't the only things you'll demand to clean on your Roomba. You should besides clean its wheels on a regular footing.
As well, if your Roomba'south battery is always running low or information technology keeps stopping in the center of the floor, yous should clean its charging surfaces and cliff sensors.
Finally, simply emptying your Roomba's dust bin after each cleaning isn't enough. You should also clean its filter, and here's how to do it properly.
Thinking of ownership a new robot vacuum? Check out our favorites right here
Source: https://www.techhive.com/article/579224/how-to-clean-the-brushes-on-a-roomba.html
0 Response to "How To Clean Bissell Crosswave Brush"
Post a Comment